
Start Painting Murals with These 5 Essential Supplies
(Hot tip: They’re pretty much the same as regular painting supplies and you probably already have them at home.)
Aww yeah, we’re back for Part 2 of my five-part mural painting blog series. Part 1 hopefully helped to smash some of the myths and limiting beliefs surrounding mural work, and in this post, we’re diving into mural painting supplies!
You basically need two things to do work as a muralist (other than artwork): 1) supplies and 2) a willingness to try. Okay, a little experience doesn’t hurt either.
The secret, though, is that neither of those two things need to be fancy or technically “correct” for you to do murals! They don’t even need to be mural-specific.
I buy the bulk of my supplies at hardware stores these days, but you don’t have to use the same supplies I use! In fact, here’s a handy comparison of supplies you could buy vs. supplies you might already have on hand.
The following list of supplies are the bare essentials you’ll need to paint a small, freehanded mural:
1. Paint
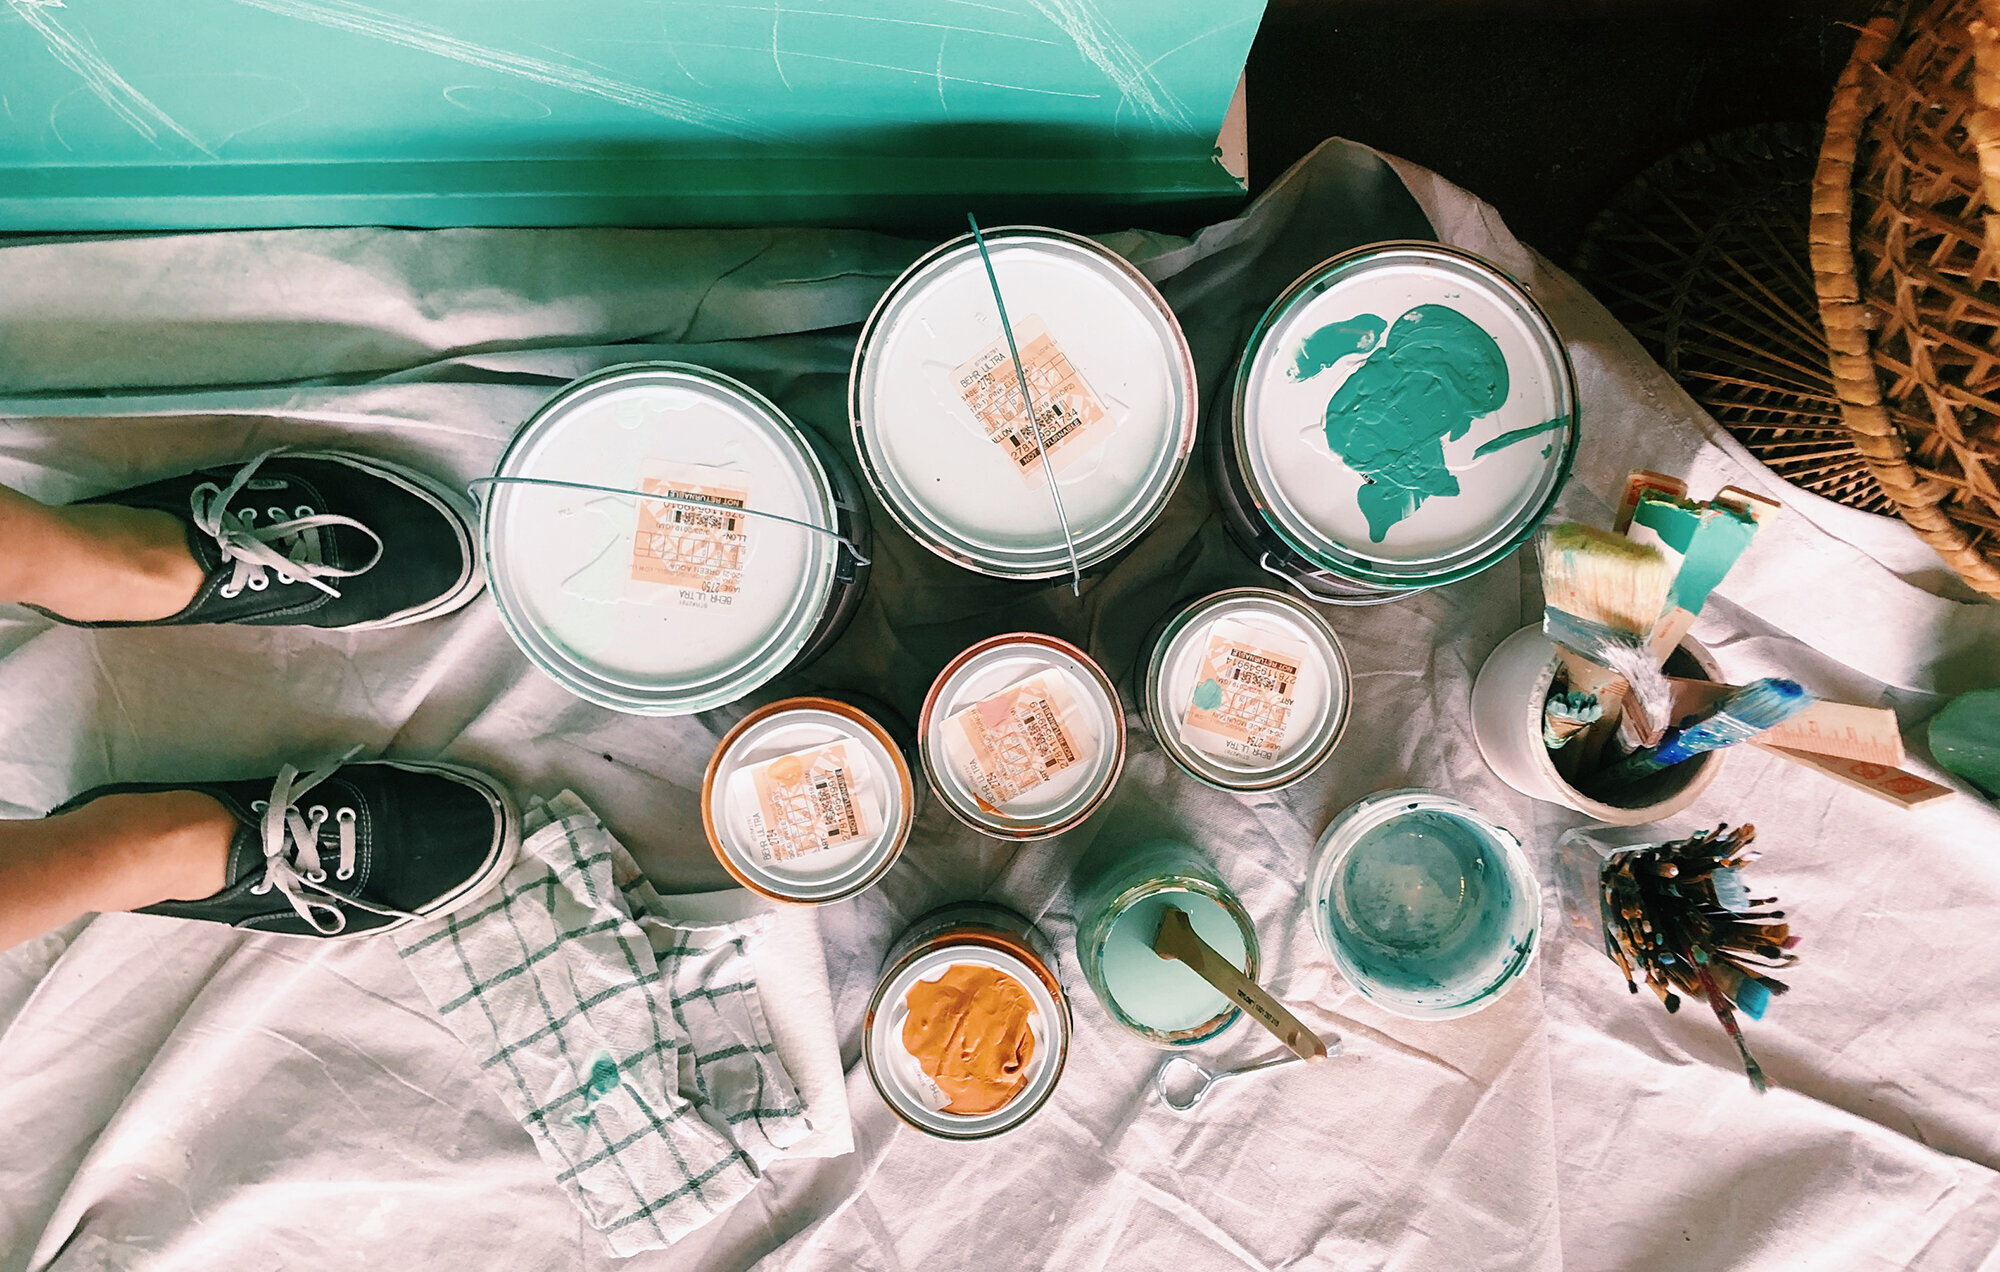
I buy pre-mixed colors from my local hardware store. This is mostly to save myself time (color mixing for large-scale work is no joke!) and to make sure I have enough of the right colors to complete the project. They’re also surprisingly cost-efficient, come in a very wide range of colors, and provide great coverage.


However, to get started, you can totally use whatever paint you already have on hand. There’s no need to go out and get gallons of house paint if you have a few tubes of acrylic sitting right next to you!
Hot tip: use plastic cups (start saving your empty hummus and sour cream containers from now on) to hold the paint - easier cleanup and you don’t lose all your color if you run into an open container sitting on the floor. Learn from my mistakes.
2. Brushes
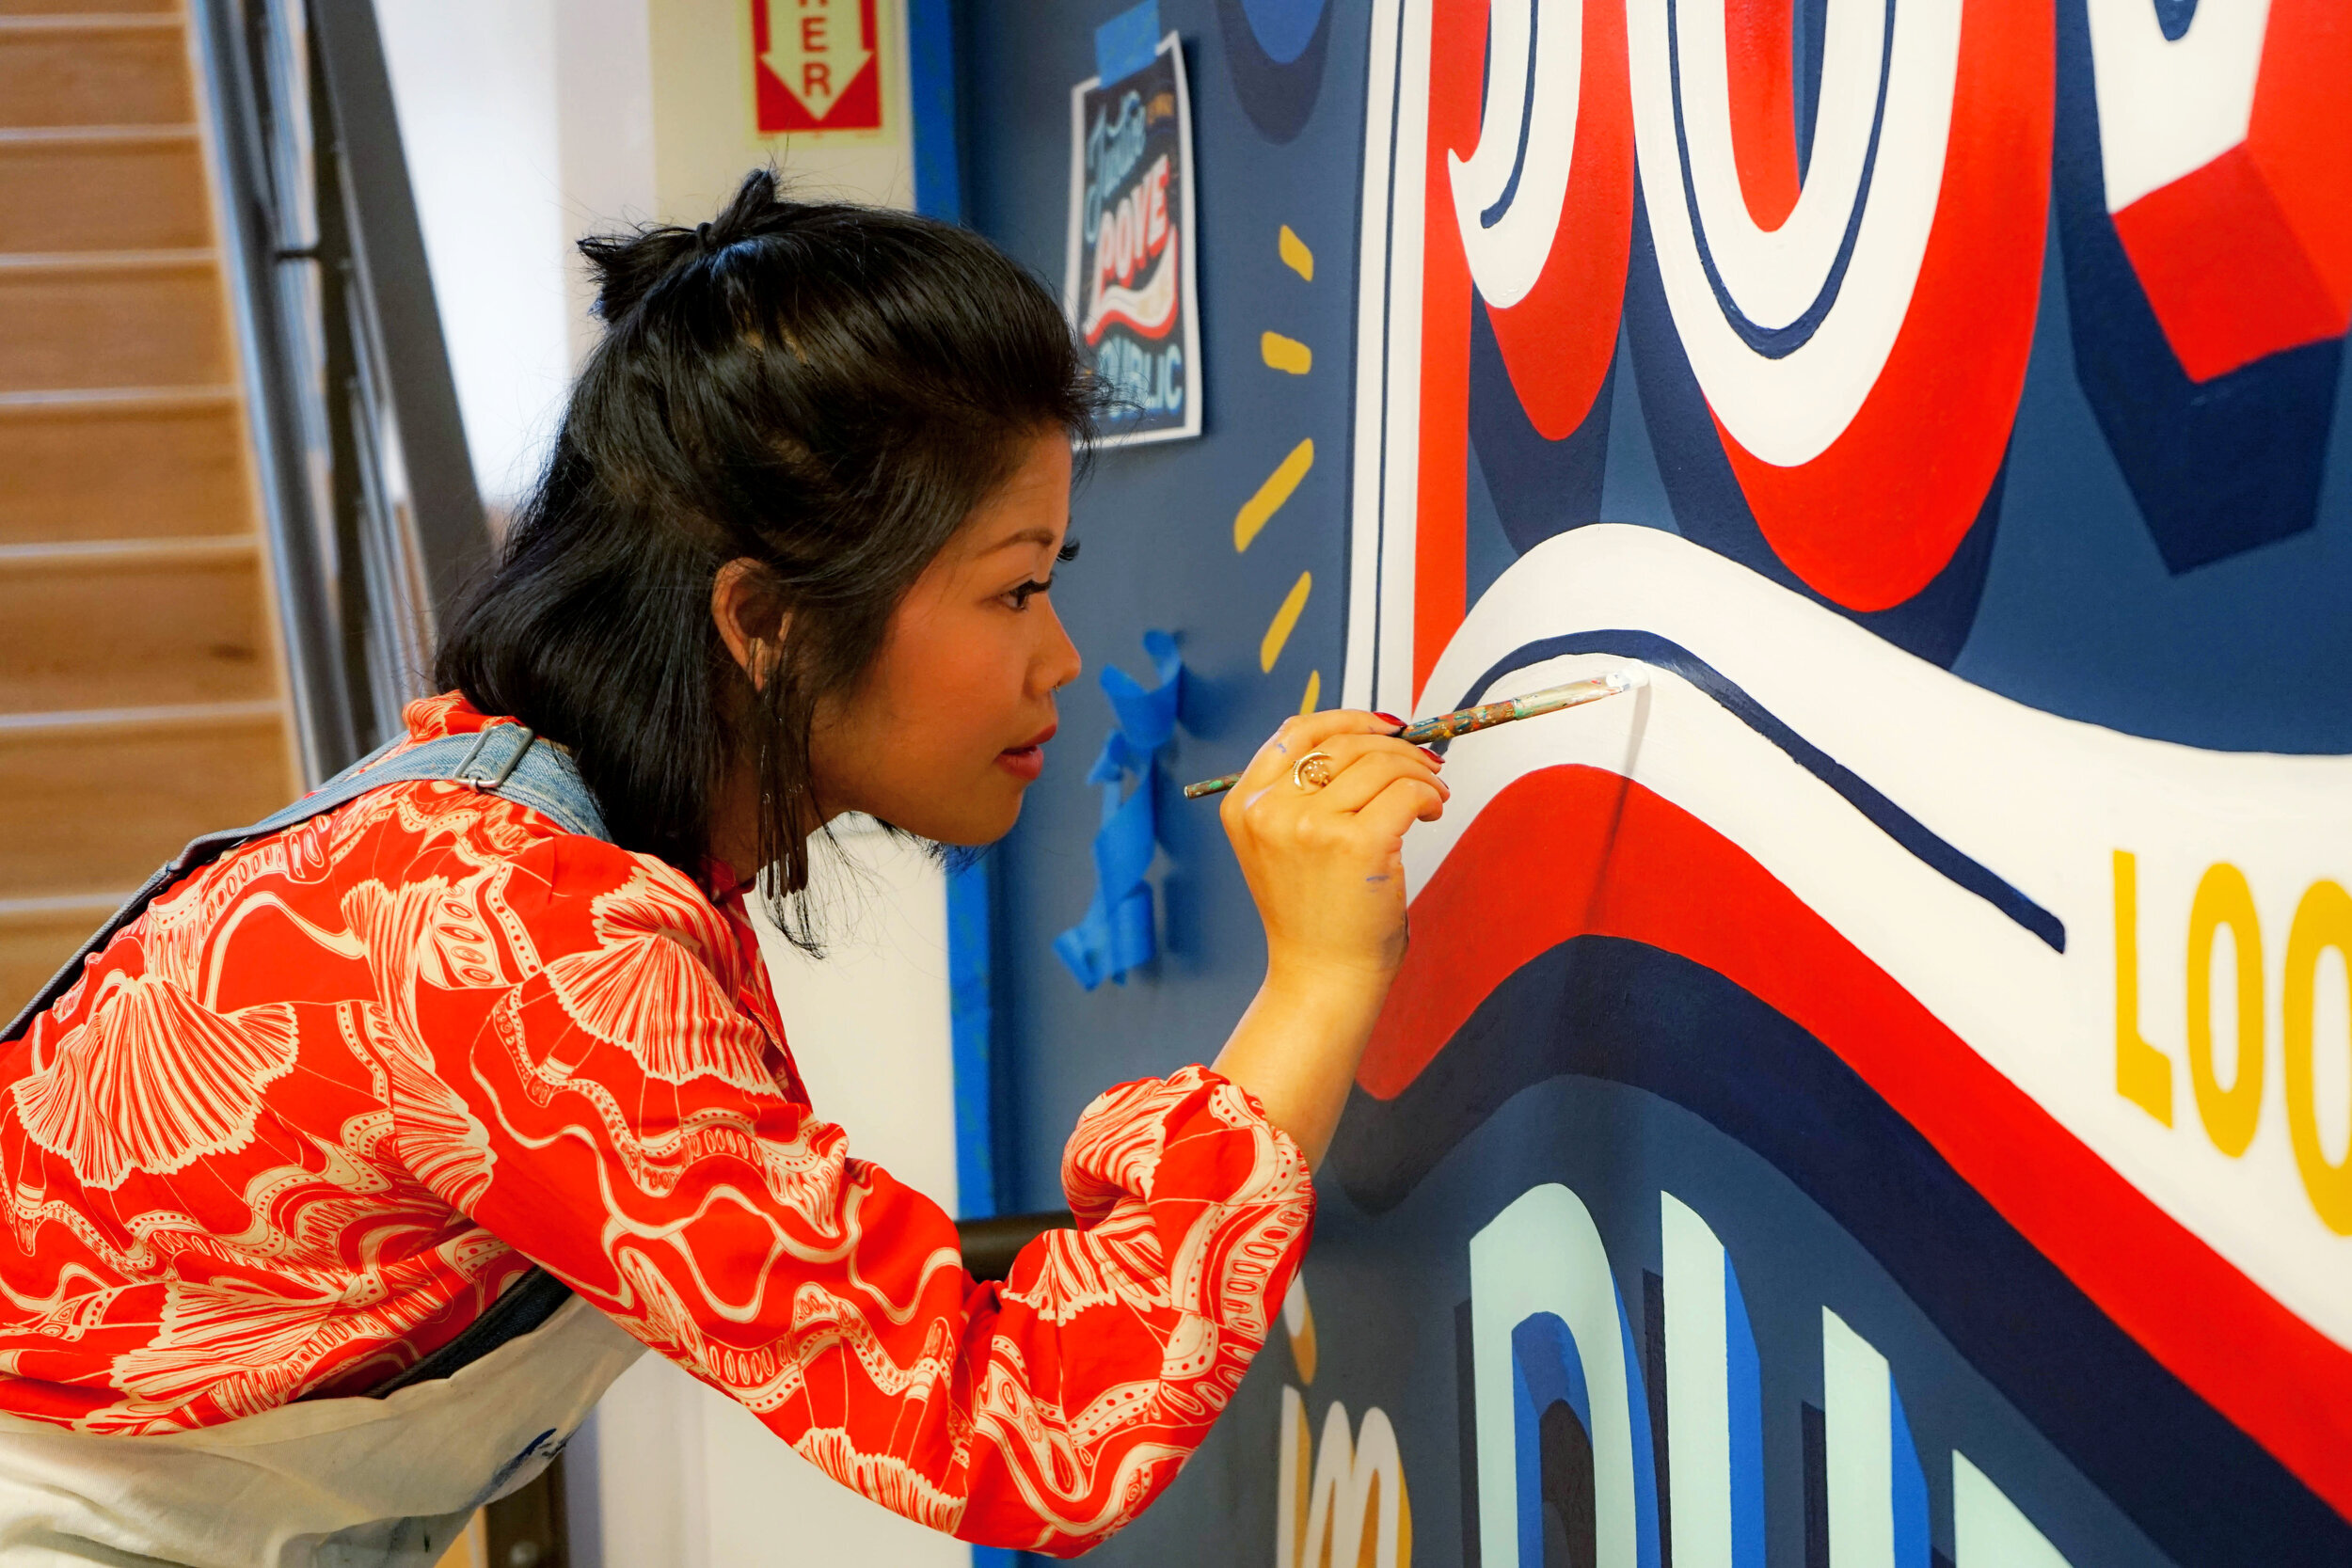
If you don’t need to paint a new background color for your mural, you really only need two brushes for mural work: a wider, angled brush for coverage and a skinny one for finer lines.


If you’re anything like me you’ll want at least six other kinds of brushes haha. But in my opinion, you only need the two. And if you’re really jammed, you could probably get away with one smallish one to do all the work.
I like to have several brushes on hand because it saves time: I don’t have to wash and dry a brush to switch colors because I can just pull out an unused one. And if I’m painting a mural that needs a background color, I also use a paint roller- way more efficient in getting lots of color down than painting it on with a bristle brush.
You can use bushes you might already have on hand (or can find easily) to get started! Your first few murals are probably going to be measured in inches or feet rather than yards, so art store brushes will work just fine.
3. Rags
Painting large can be messy!


You need rags on hand to take care of drips, wipe your hands, manage spills, etc… “Shop rags” or “painter’s rags” are great for larger work, or textured surfaces, because they are sturdy and can be reused. Paper towels are the obvious “stuff I have on hand” option. Or perhaps dive into your junk drawer and see if you have any take out napkins laying around. Old t-shirts work well too!
4. Sketching
If you’ve got a crayon or some pencils on hand you are all set for sketching out your mural on a wall. You don’t need fancy gear to get that art up on the large surface.


Ideally, you just need something to draw with that won’t smudge super easily (aka chalk and soft pastels are not my favorite, but they’ll do in a pinch).
If you want to get fancy, you can use a (heavy duty) carpenter’s pencil or grease pencils - my personal favorites. Both tend to be more sturdy than their standard counterparts, which is helpful on large textured surfaces.
5. Drop Cloth
If you’re anything like me you’re going to drip or spill! Use something to protect the floor under your mural.

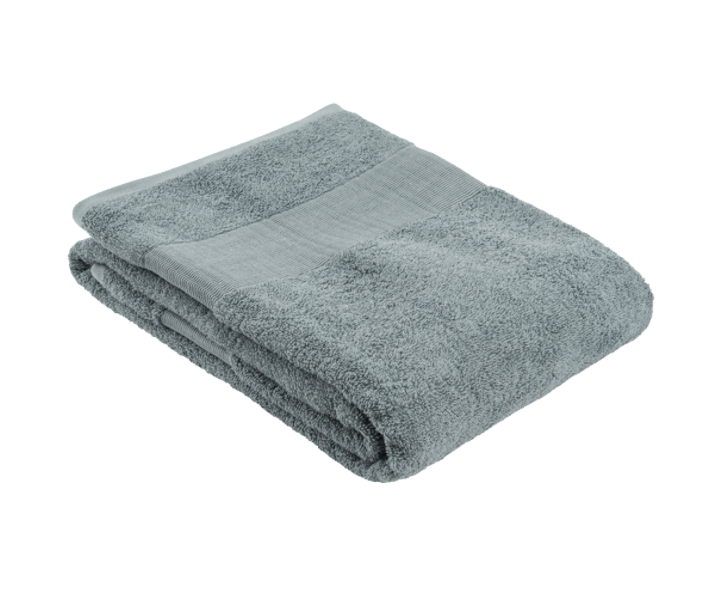
You can start out with an old bath towel, bed sheet or a roll of sketch paper taped to the ground. These days I use a canvas drop cloth because it’s easier to reuse than some of the other options.
Optional-but-very-helpful supplies for large or more advanced mural work.
This longer list of supplies I use for murals is totally optional; you can use them if you want but you can also absolutely do murals without them. No need to go dropping bills on a fancy projector right away!

Paper (for printing out a “life sized” version of your work and transferring to the wall)
Transfer paper (makes transferring your drawing a breeze)
Projector (for projecting art from a laptop/device)
Painters tape (to make straight lines)
Latex gloves (if you don’t want to get your hands dirty)
So. Many. Brushes. (rollers, liners, little cut-in brushes, super long rollers, etc)
Paint roller extension pole (for increasing your reach + efficiency)
iPad or Laptop (to sketch and plan layout)
Ladder or step stool (for larger murals)
Assistants (because mural work is time consuming as fuck)
Music and speakers (to keep your spirits high and your work zone positive)
Wine (for toasting a job well done at the completion of your mural)
Hopefully you’re convinced that you don’t need fancy supplies to get started doing murals. You can use basic acrylics and basic brushes on almost any smooth wall to create a mural.
And if you’re thinking “okay that’s great but I still need a wall,” don’t worry! I’ve got another article coming up that provides lots of wall-finding insight.
In the meantime, you can start to practice your mural painting skills by increasing the scale at which you currently work. If you work on paper, work on larger sheets. If you work on canvas, buy a larger canvas or use several (together) to create a large canvas surface.
It’s good to remember that the thing that “makes” a mural is the scale - a large surface - not the techniques or supplies used to create it! So grab the supplies you have on hand and try your hand at painting something a lil’ bigger.
x Lauren


