
{Tutorial} You Glow Girl! How to turn your type into a neon sign using Adobe Illustrator

Inspired by one of the signs I designed for my Adobe Insiders project, I created this tutorial to show you how to create a neon sign effect in Adobe Illustrator. In this tutorial, I'll show you my tips for making your sign look more authentic and how to create a natural looking glow.
If you give this tutorial a try and post your finished piece to Instagram, I’d love for you to tag me (@homsweethom) and @adobecreativecloud so we can see your work glow.

Step 1: On top of a locked black background, type out your phrase in a monoline script font of your choice in a light color (I’m using Vodka Pen)

Step 2: Select all of the type and press Command + Shift + O to outline all of the type and turn it into vector art. Press Command + Shift + G to ungroup all of the letters.

Step 3: To give it an authentic neon sign feel, select the first letter and use the Eraser tool (Shift + E) to erase the parts where the lines touch in the letter. You want to try to give the end of each part a slightly rounded end. This will mimic the effect of actual bent neon tubing. Don’t worry about it being too smooth - we’ll fix this in the next step. Repeat this erasing for all letters.

Step 4: Once you’ve erased each intersection, use the Smooth Tool to smooth out any rough edges from your erasing.

Step 5: Select all of your type and give it a Stroke that’s a more saturated version of the color you already have. Align it to the inside or center of the letter, and choose a medium thickness that allows you to still see the original lighter color filled inside.

Step 6: Select all of your type and then go to Object > Path > Outline Stroke to turn these outlines into their own separate vector art. Then, select your type and press Command + Shift + G to ungroup the words. Press it again to ungroup the outlines from the original text.

Step 7: Select one of your darker colored outlines and go to Select > Same > Fill Color to easily select all of the other darker outlines. Press Command + G to group them all together. Then do the same to select all of your lighter color text and group it together too. Now we have the darker outlines as one unit, and then lighter filled text as one unit.
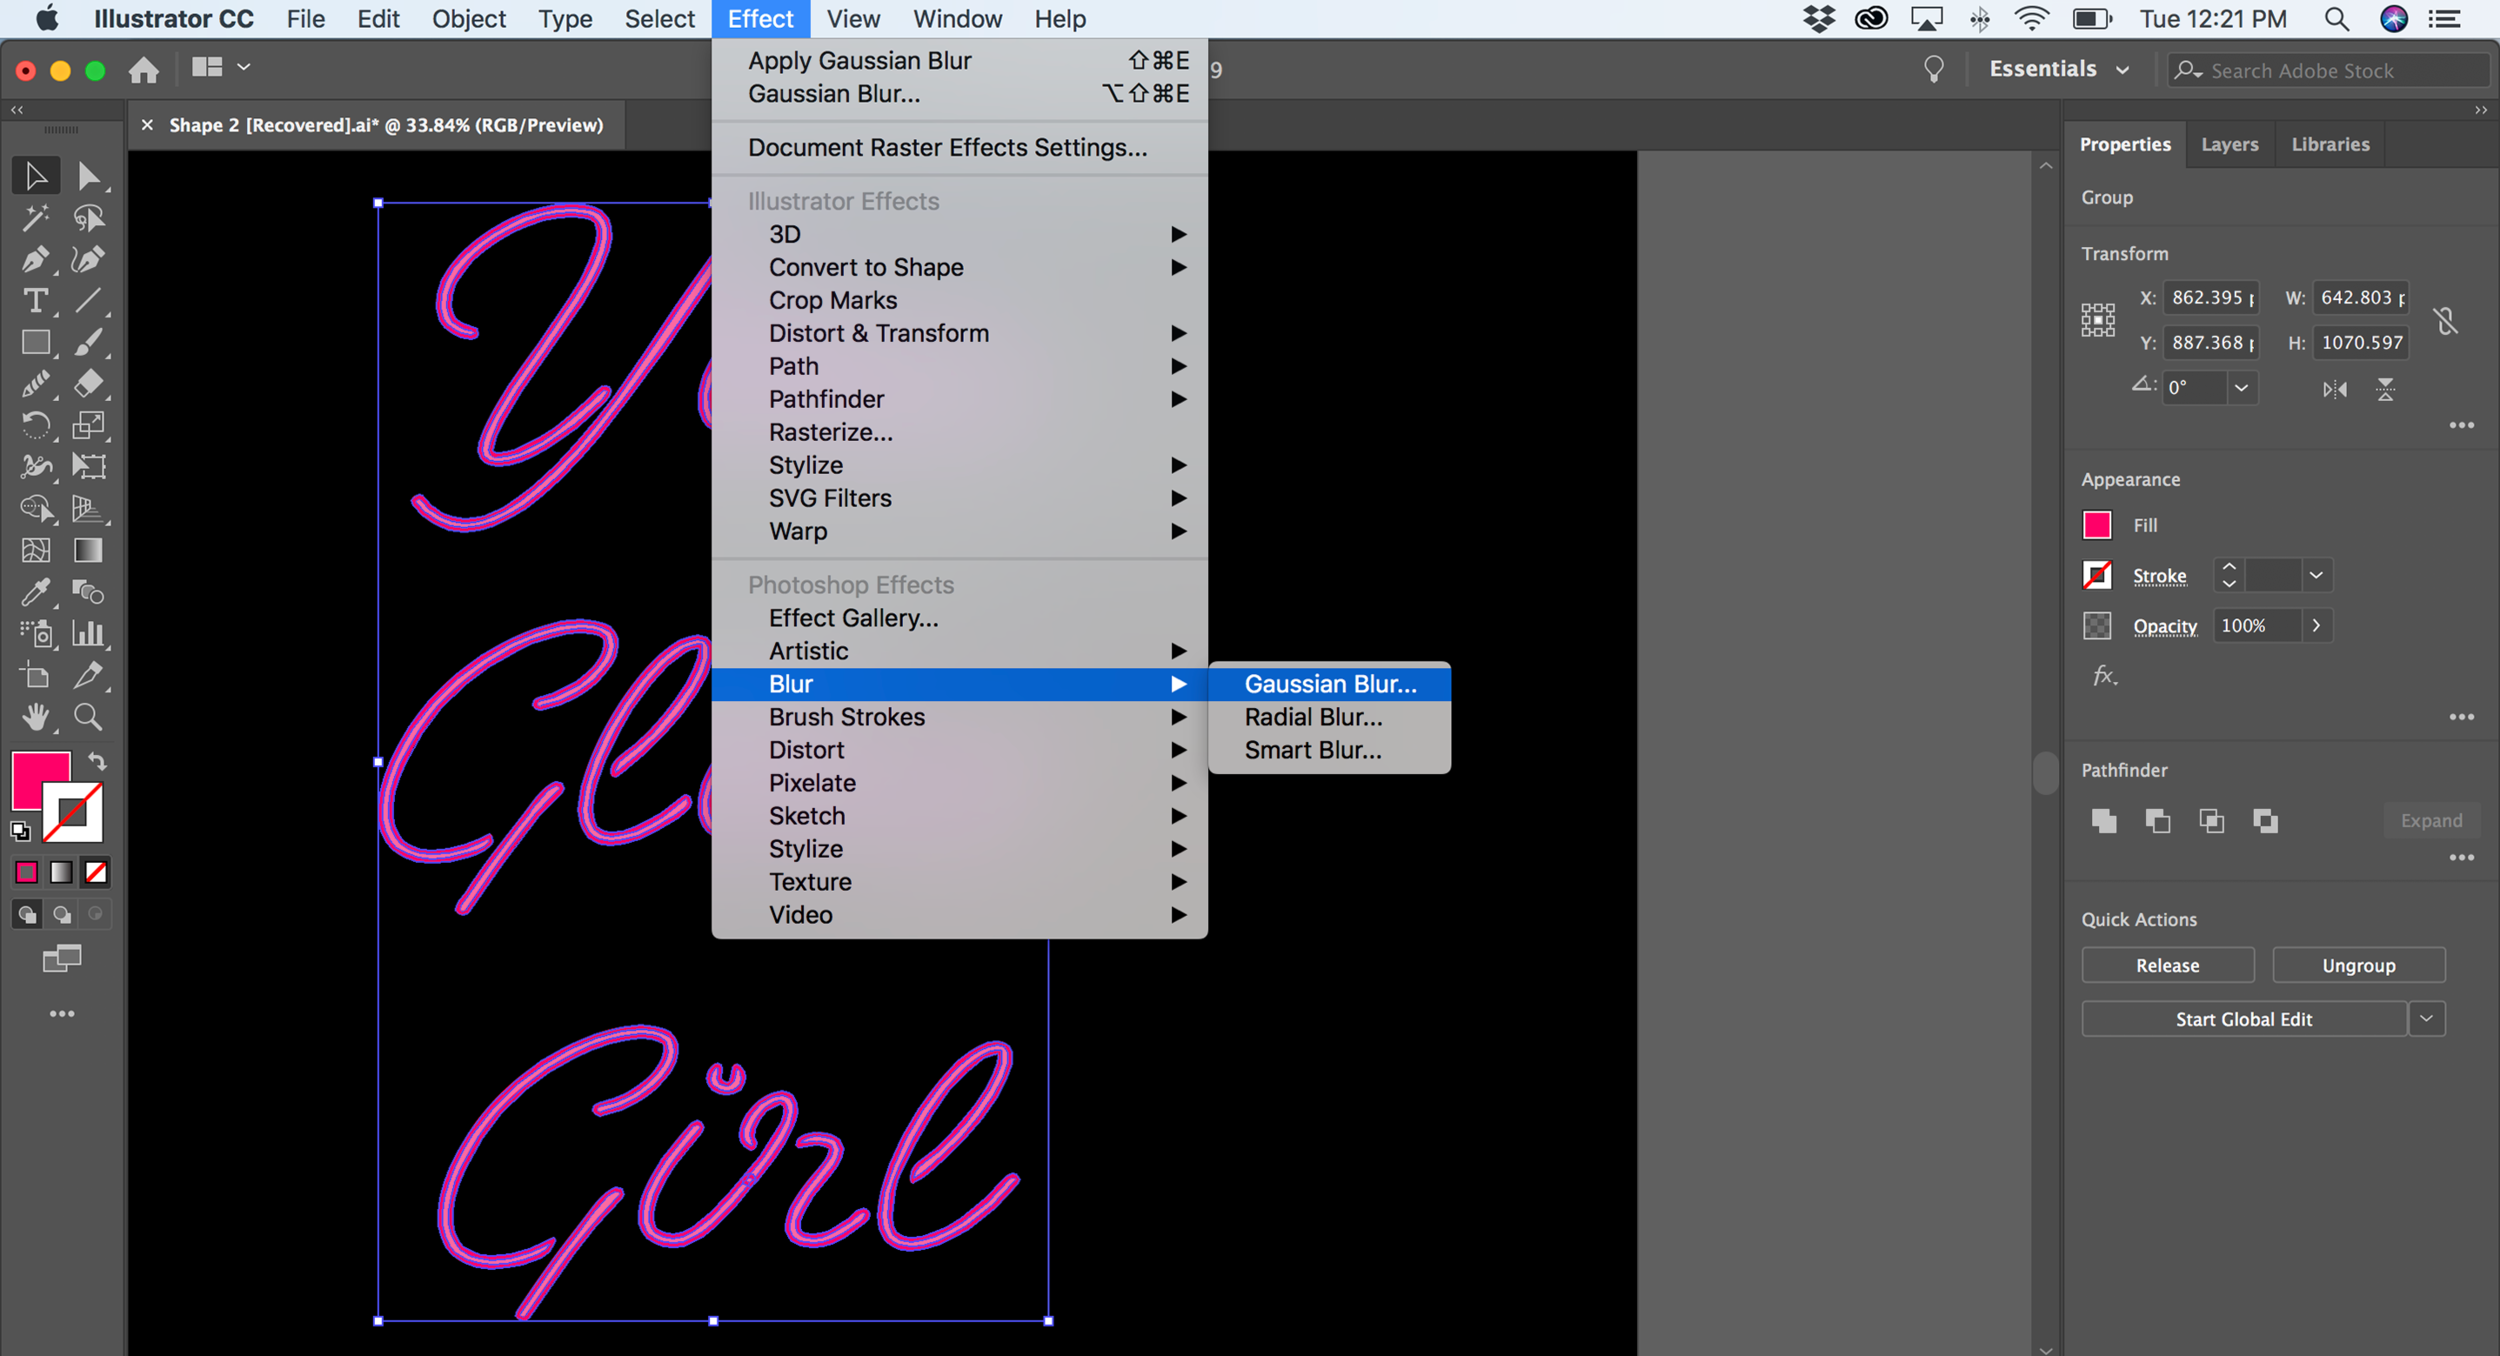

Step 8: Select your darker outlines and go to Effects > Blur > Gaussian Blur to create the first glow. Make sure ‘Preview’ is checked and toggle the slider until you have a glow you like. We will be making a blurrier second glow on top of this, so this one should be the closest light emanating from the tubes.

Step 9: Select your glow and go to Object > Arrange > Send Backward to send the glow behind the original type.

Step 10: Select the original type and give it a very subtle Gaussian Blur.

Step 11: Select the darker glow behind it, copy it and paste it into place to create a duplicate. Apply another blurrier Gaussian Blur to this layer to create the softer, larger glow coming off of the light. Go to Object > Arrange > Send Backward to place it behind the original type.

Step 12: Adjust your colors as needed. I decided to make my sign glow brighter by choosing an even lighter version of the original pink.

Step 13: Add any embellishments or illustrations! Just make sure to apply the same erasing + smoothing technique to make sure none of the lines touch.